Note. See part numbers for this part. Here.
Removing
Detach cover 3, Figure 6-2, of the high and low beam bulb socket. Slide the sealing cover 6, Figure 6-3, over the cable sheath.
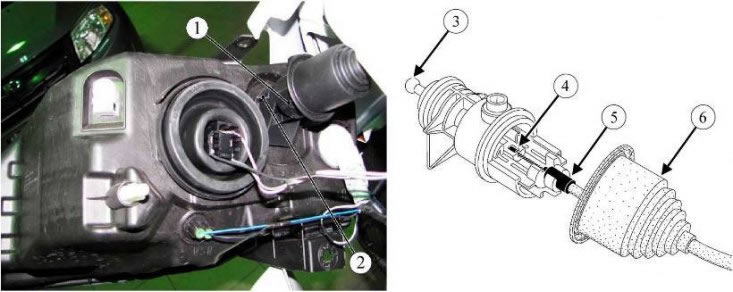
Figure 6-3 - Removing the headlight range control drive: 1 - headlight corrector drive; 2 - fastening latch; 3 - drive pusher; 4 - cable tip; 5 - tip of the cable sheath; 6 - sealing case
Having pressed the latch 2 of the corrector body fastening and turning it, remove the corrector body from the headlight.
Press the pusher 3 of the drive so that a small gap is formed at the tip of the cable 4.
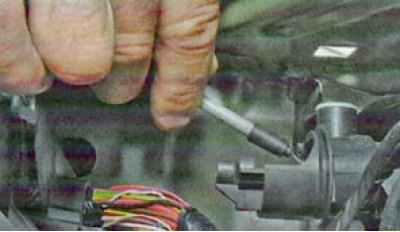
Detach cable sheath tip 5.
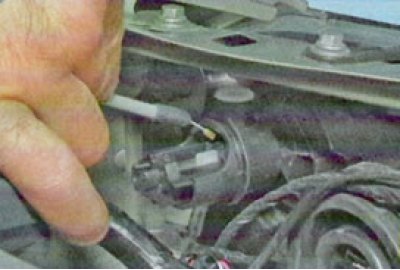
Disconnect cable from drive.
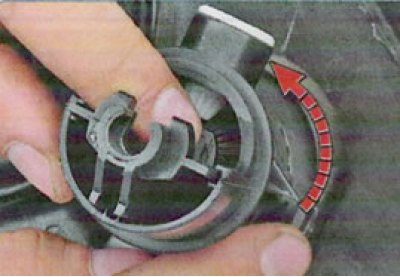
Press the lock on the headlight housing, turn the pusher mechanism counterclockwise...
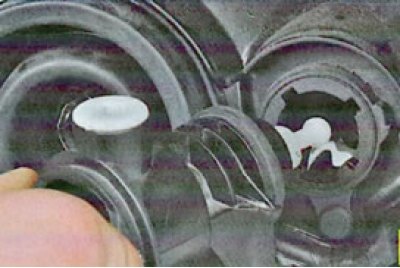
...and take it off.
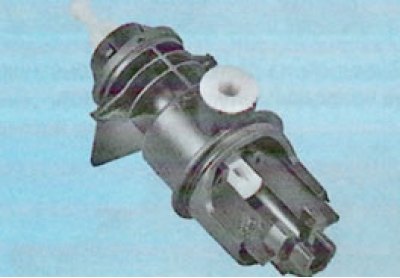
Installation
Pull the headlight reflector 1, Figure 6-4, towards you so as to bring the slot of the holder as close as possible to the corrector pusher.
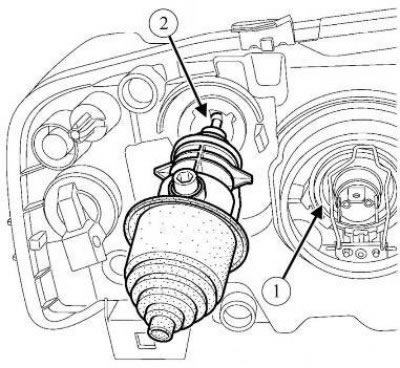
Figure 6-4 - Installing the headlight range control drive: 1 - reflector; 2 - holder
Fix the pusher in the slot of the holder 2. Secure the corrector drive with a lock.
Install tip 4, Figure 6-3, of the corrector drive cable into the pusher.
Pull back and fix the tip of the sheath 5 of the cable in the corrector drive housing.
Install sealing cover 6 in place.
Install cover 3, Figure 6-2, of the high and low beam bulb socket.
Adjust headlights (see here).
Corrector Regulator Replacement
The regulator is located on the left side of the dashboard.
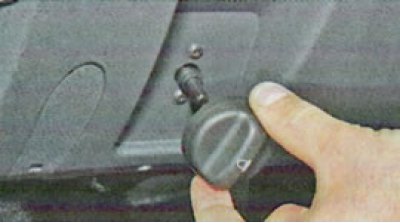
1. Remove the regulator knob by pulling it towards you.
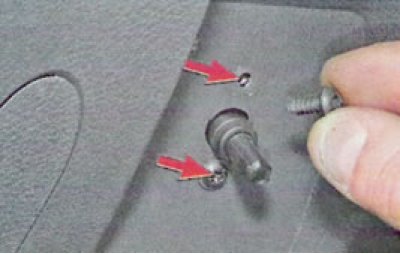
2. Remove the two screws securing the regulator to the panel and push the regulator into the panel. Pull the regulator through the opening at the bottom of the dashboard.
Shown with dashboard removed for clarity.
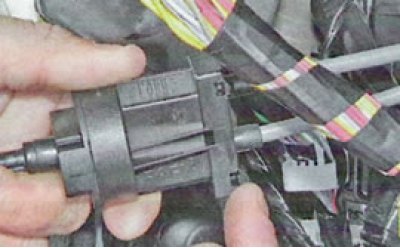
3. Press the clamps of the holder of the corrector cable sheaths and remove the holder from the grooves of the regulator body.
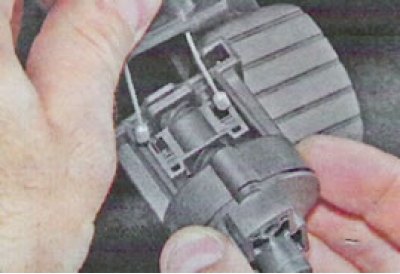
4. Take out from holders tips of cables of a drive and remove a regulator.
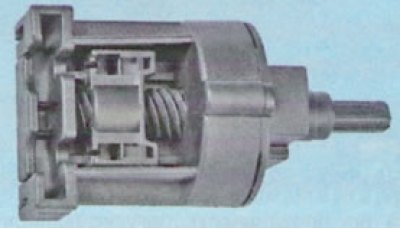
5. Install the corrector control in reverse order.
