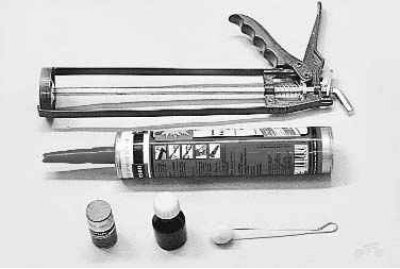
It looks like a set for gluing glasses. It consists of a tube with glue, a tube tip, an activator/cleaner and a primer.
Note. There may be slight differences in the instructions for kits from different manufacturers. In this regard, when performing this operation, be guided by the instructions for the kit you purchased.
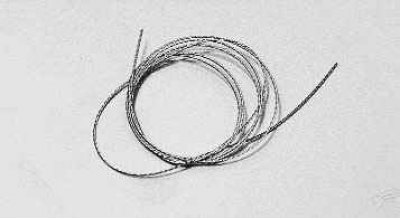
Note. To remove glued glass, it is convenient to use a steel string.
1. Lower the windows of the front doors.
2. Remove facings of forward racks (see «Removal and installation of facings of forward pillars of a body»).
3. Remove the hood (see «Removal and installation of a cowl»).
4. Remove the windshield frame trims (see «Removal and installation of overlays of a frame of a windscreen»).
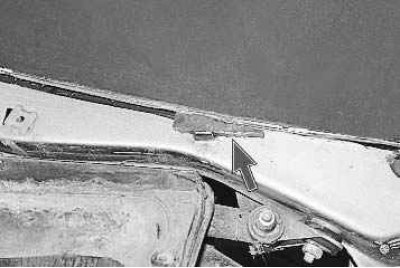
5. Remove the two adjusting wedges (shown one, left).
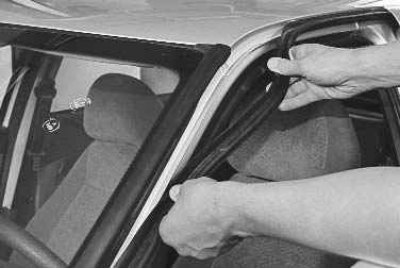
6. Open the front door and remove the door seal from the windshield pillar.
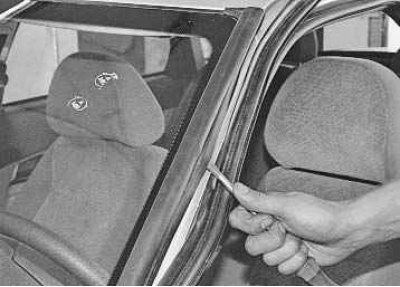
7. Pry off the edge of the windshield side trim with a screwdriver..
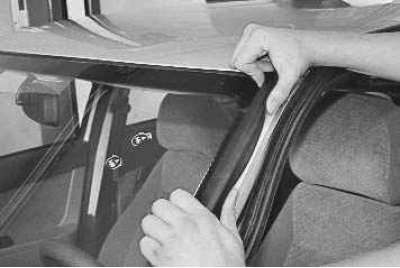
8.... and remove the trim.
9. Similarly, remove the second overlay.
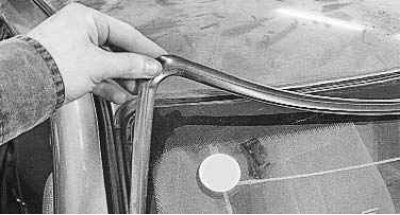
10. Remove a sealant of a windshield, carefully clear it of dirt and sealant. If the seal is damaged or has lost elasticity, replace it.

11. Slightly pry the glass with a screwdriver, pierce the glue line with a pointed tool (for example, an awl) and pull the string through the hole.
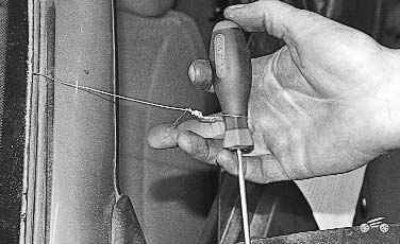
12. For convenience, you can attach screwdrivers to the ends of the string, which will serve as handles.
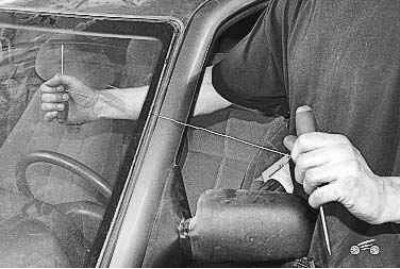
13. Saw the glue line along the entire perimeter of the glass with a string (you may need an assistant to perform this operation)...
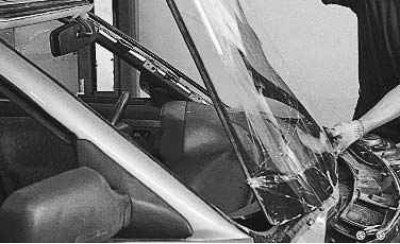
14.... and remove the glass from the car.
Warning! Take precautions when working with glass. If the glass is damaged, it may break unexpectedly.
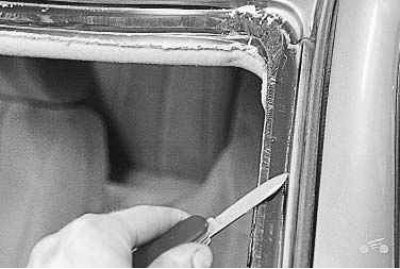
15. Cut off the old seam, leaving a thin layer of glue (1.0-2.0 mm).
16. Install the seal on the new glass.
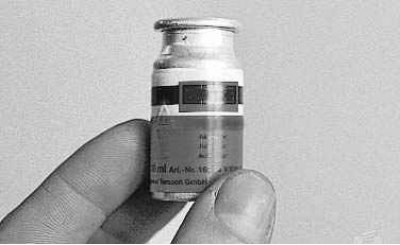
17. Apply activator...
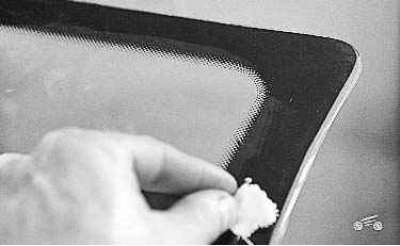
18.... on the edge of the glass and the window opening along the entire perimeter.
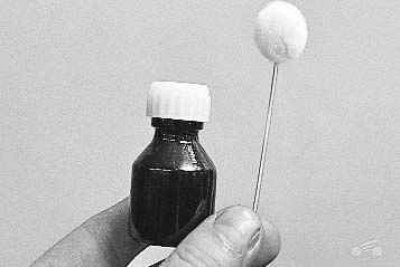
19. Apply a primer around the perimeter of the glass...
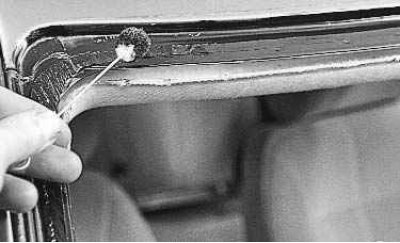
20.... and the window opening.
Attention! Do not primer over old adhesive residue.
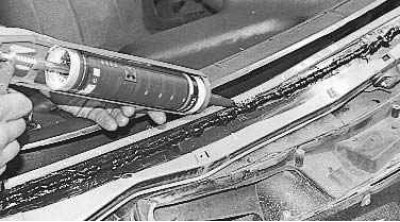
21. Apply glue evenly to the window opening (layer thickness 0.5 cm) and around the glass.
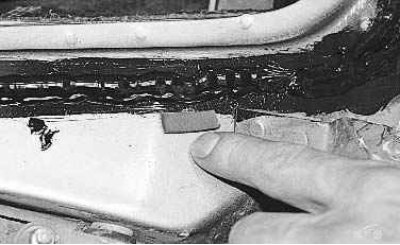
Note. At the bottom of the windshield frame, two rubber pads are glued to the body to prevent glass contact with protruding body elements. Check for them, otherwise the new glass may be damaged.
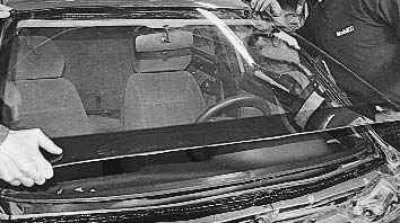
22. Establish glass in gathering with a sealant on the car.
23. Using adjusting wedges, achieve uniform gaps between the glass and the opening along the entire perimeter of the window.
24. Press and fix the glass in any way possible (e.g. with masking tape). The polymerization period of the adhesive is at least 2-3 hours. During this time, the car should not be exposed to any external influences. Even a sudden closing of the door can lead to an increase in air pressure in the cabin and, as a result, to the separation of the glass. It is advisable to start operating the car after gluing the glass no earlier than 24 hours later.
25. Replace rear glass and sidewall glass in the same way.
