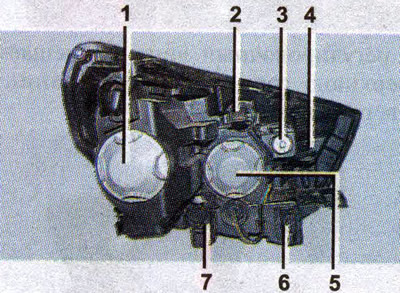
Block headlight: 1 - high beam lamp cover; 2 - lamp holder for daytime running light and side light; 3 - screw for adjusting the low beam in the horizontal plane; 4 - turn signal lamp socket; 5 - low beam lamp cover; 6 - electrical connector; 7 - electrocorrector
Warning! Do not touch the halogen lamp bulb with your fingers. Grease marks on the lamp bulb will shorten its life. After accidental contact, wipe the flask with a clean cloth dampened with alcohol.
High Beam Bulb Replacement
1. We prepare the car for work (see «Preparing the car for maintenance and repair»).
2. Turn off the ignition.
3. Turn counterclockwise.
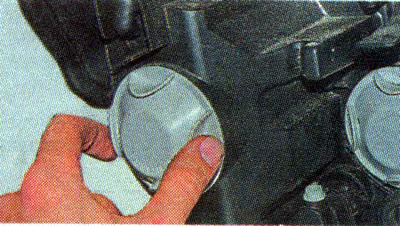
... and remove the lamp cover from the headlight housing.
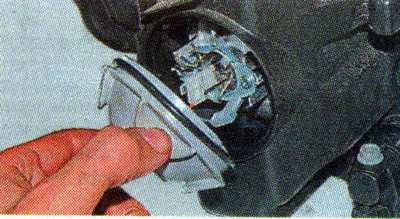
4. Pulling, disconnect the wire block from the lamp.
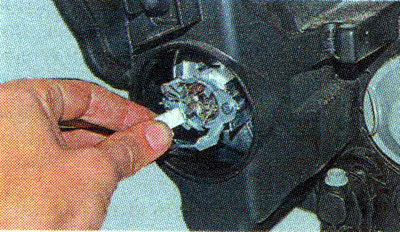
5. Press the wire holder and move it down, disengaging it from the stop.

6. We remove the lamp from the headlight.
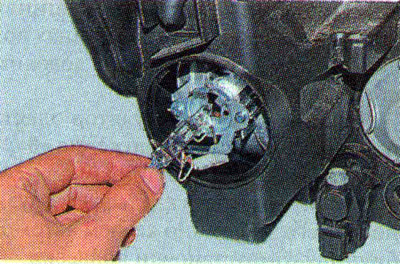
7. Install a new lamp in reverse order.
Replacing the Low Beam Bulb
1. We prepare the car for work (see «Preparing the car for maintenance and repair»).
2. Turn off the ignition.
3. Turn counterclockwise...
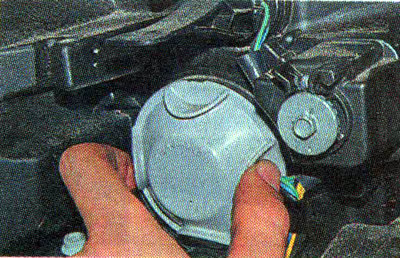
... and remove the lamp cover from the headlight housing.
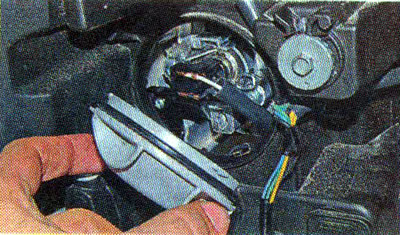
4. Pulling, disconnect the block of wires from the lamp.
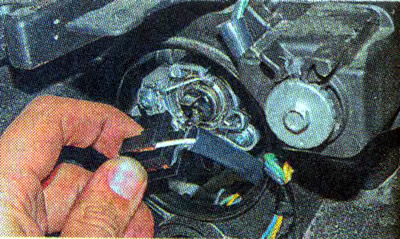
5. Press the wire holder and move it down, disengaging it from the stop.

6. We remove the lamp from the headlight.

7. Installing a new lamp (by aligning the protrusions on its base with the corresponding grooves in the headlight) in reverse order.
Replacing the daytime running lamp and position light
1. We prepare the car for work (see «Preparing the car for maintenance and repair»).
2. Turn off the ignition.
3. Turn counterclockwise until the holders are released...

... and remove the lamp socket from the headlight.
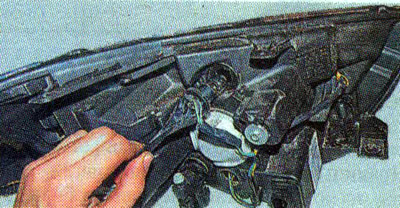
4. Pulling, remove the lamp from the cartridge.

6. Install the lamp in reverse order.
Replacing the turn signal lamp
1. We prepare the car for work (see «Preparing the car for maintenance and repair»).
2. Turn off the ignition.
3. Turn counterclockwise until the holders are released...
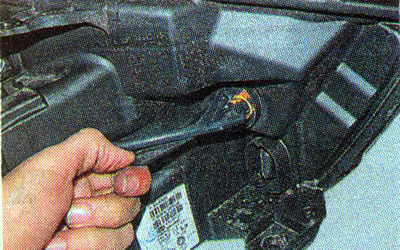
... and remove the lamp socket from the headlight.
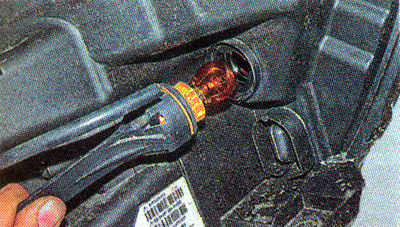
4. Having sunk the lamp, turn it counterclockwise...
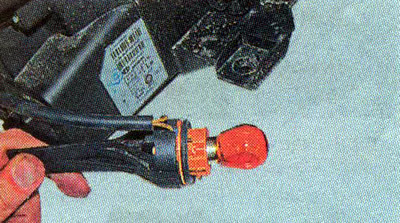
... and remove from the cartridge.

5. Install the lamp in reverse order.
